Group Information
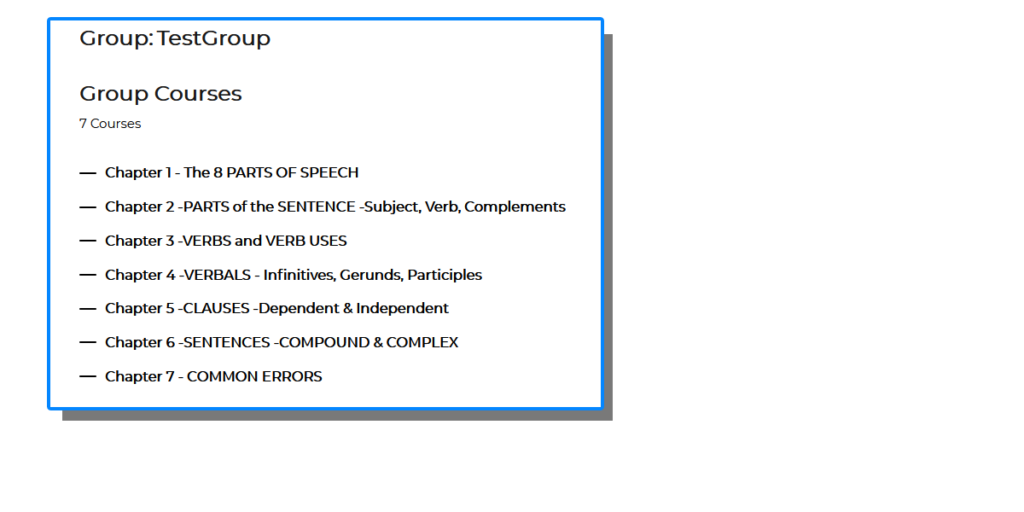
When you log in the Group Management page, the first thing you see is the name of the group(s) you are managing and a list of group courses (fig-1).
Group Users
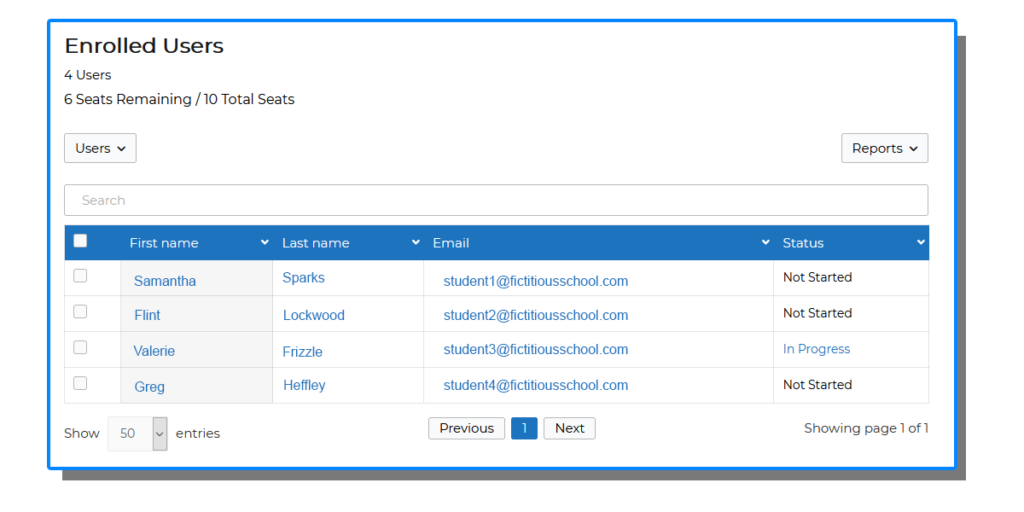
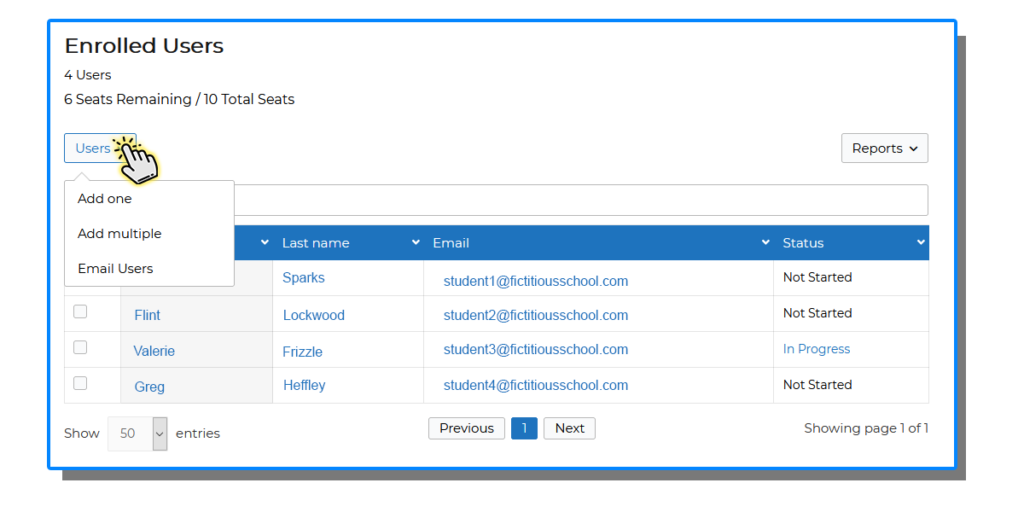
The next section of the page is the Enrolled Users list that contains two menus for the main management functions that are available to Group Leaders. The Enrolled Users list is the current list of your group users, their email addresses, and their status (fig-2).
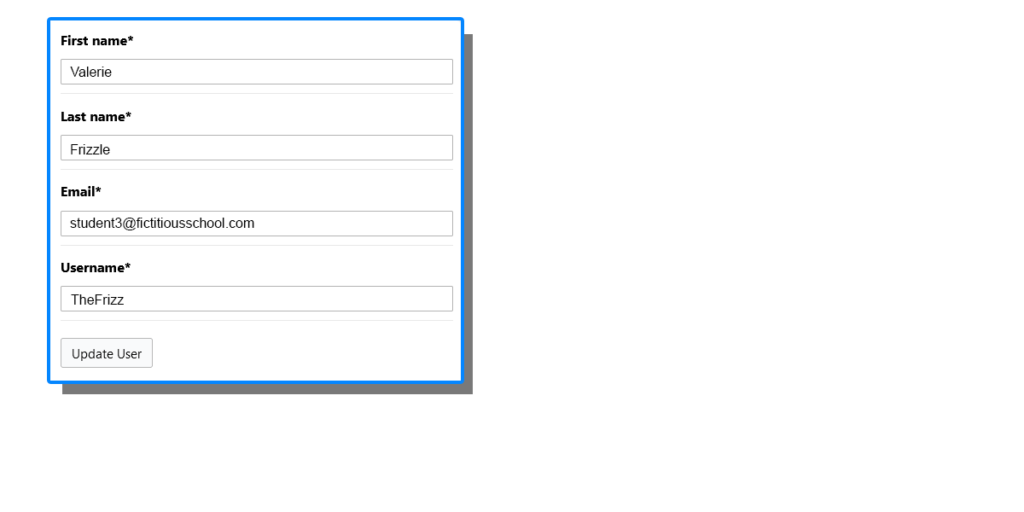
Group Leaders can click a user’s name (first or last) to bring up the Edit User dialog (fig-3). Group Leaders can also click on a user’s email address to send them an email.
Managing Users
Adding Users to Groups
When you click the Users menu (fig-4), you can choose between adding one user , adding multiple users, or email users.
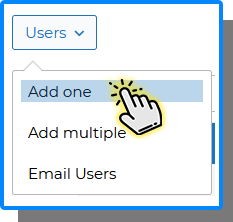
If you select Add one,
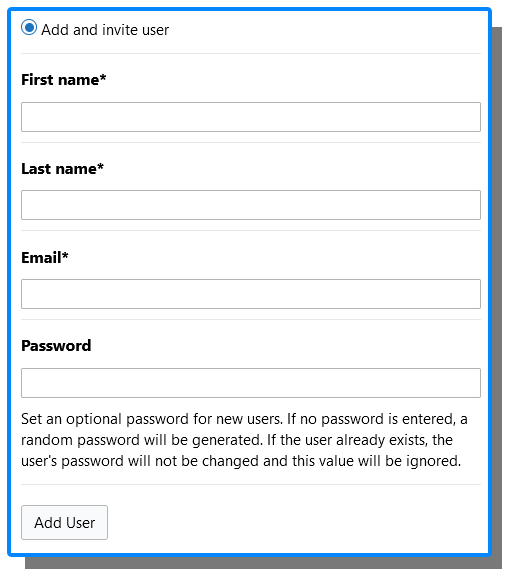
a form appears (fig-4)
Add and invite user: Enter the user’s first name, last name, and email address to add them to a group. Once you click the Add User button, an email is sent to the user. The user is added to the list of users in the group and they take up a seat in your group, and their status is set to Not Started.
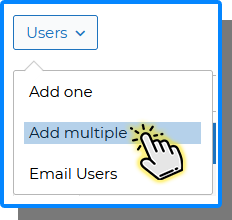
If you click Users > Add multiple,
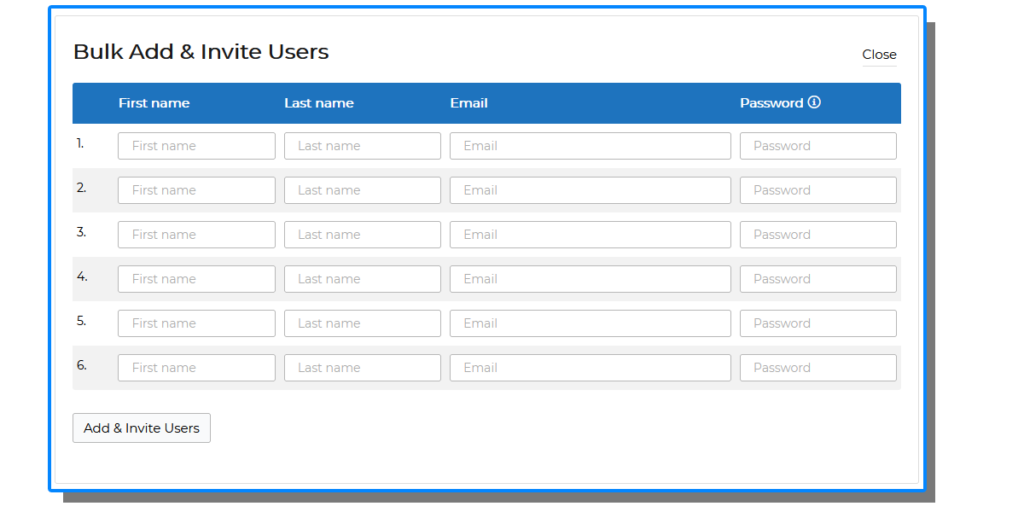
the Bulk Add & Invite Users form (fig-5) appears.
Users added to this form will receive an email. The users are added to the list of users in the group and they take up a seat in your group, and their status is set to Not Started.
Removing Users from Groups
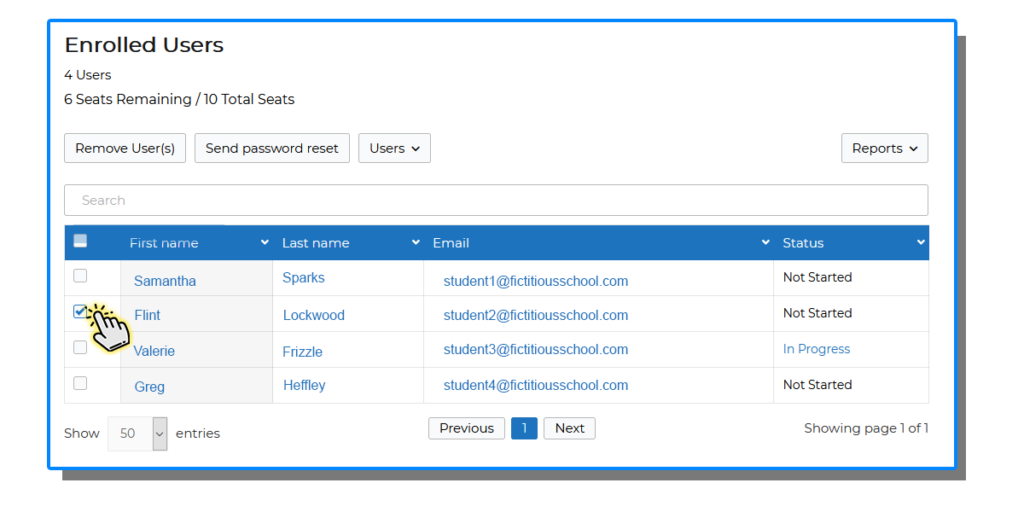
To remove users from a group, select the users you would like to remove from the Enrolled User list, and a Remove User(s) button will appear (fig-6).
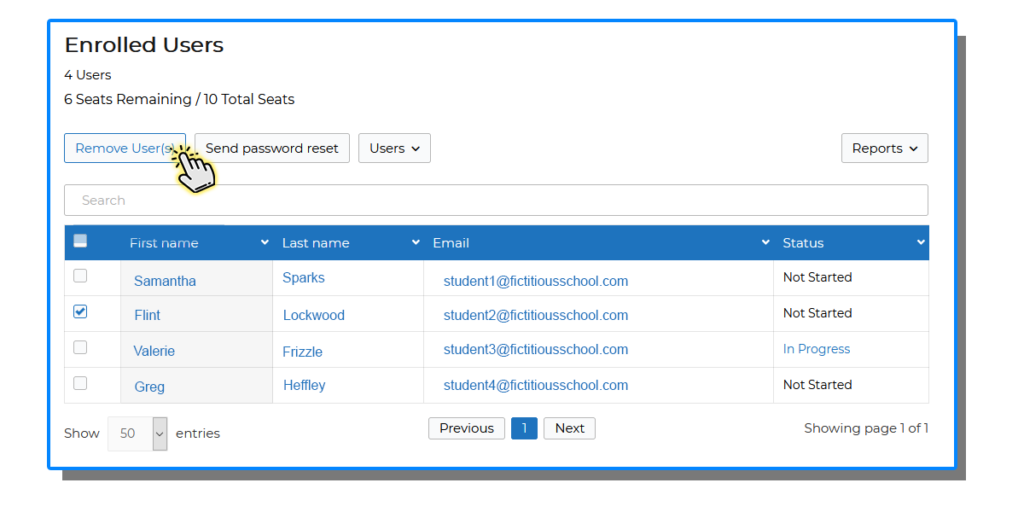
Click on the Remove User(s) button (fig-7).
You will be prompted to confirm your action (fig-8).

Then after clicking Remove User(s) user will be removed from the group.
Reports
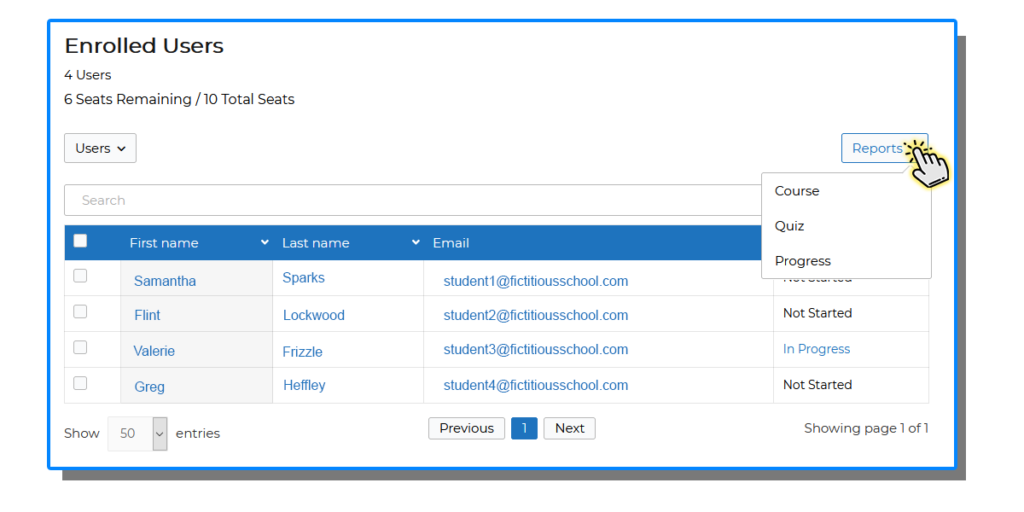
The Course , Quiz, and Progress reports are accessible via the Reports menu (fig-9).
